


Birds can be beautiful to watch from afar, but when they start roosting and nesting on your building, they can cause significant problems. Bird droppings can corrode surfaces, clog gutters, and create unsanitary conditions. Noise, feathers, and nesting materials can also disrupt daily life. One of the most effective and humane ways to deter birds from settling on your property is by installing bird spikes. This guide explains everything you need to know about bird spike installation—from preparation to maintenance.
Understanding Bird Spikes and Their Purpose
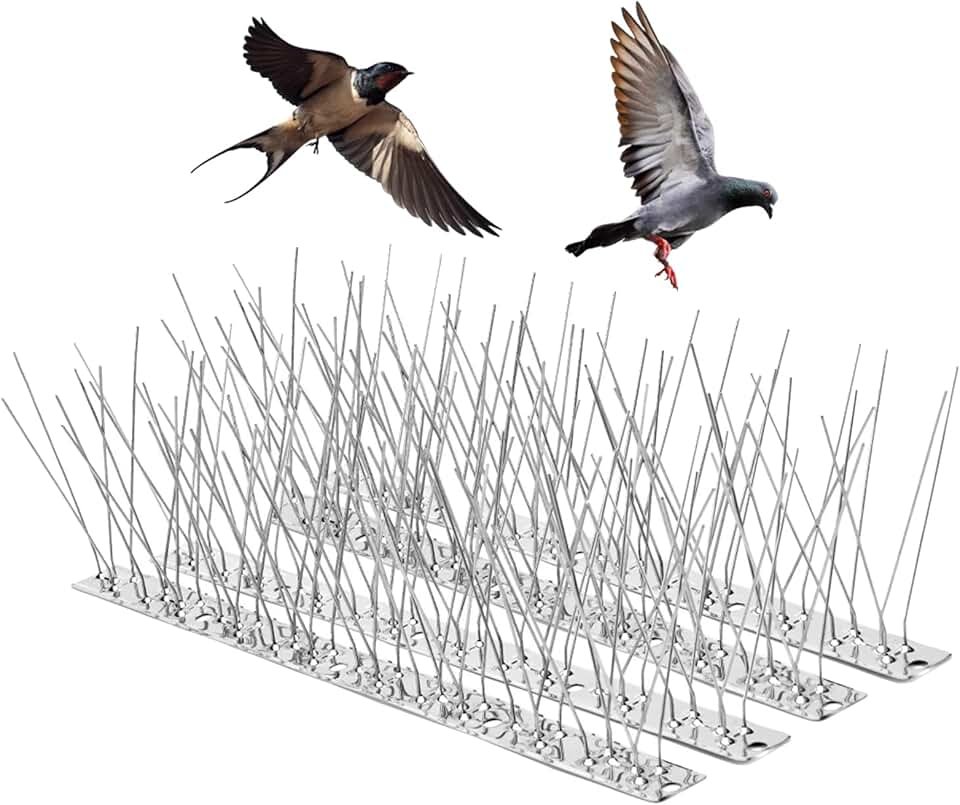
Bird spikes are simple yet highly effective deterrents made of plastic or stainless steel rods mounted on a base strip. These spikes do not harm birds; rather, they make it uncomfortable or impossible for them to land on treated surfaces. The spikes are typically installed on ledges, signs, rooftops, beams, fences, or other areas where birds like pigeons, seagulls, or sparrows tend to perch.
The idea behind bird spikes is to remove the flat, inviting surface that birds seek for landing or nesting. Once spikes are installed, birds naturally look for alternative, more comfortable spots elsewhere. This approach prevents infestation while keeping the environment bird-friendly and humane.
Preparing for Installation
Proper preparation ensures that the bird spikes are installed effectively and remain durable over time. Begin by inspecting the problem areas on your building. Look for signs of bird activity such as droppings, feathers, or nesting materials. Common hotspots include roof ridges, ledges, window sills, signage, and gutter edges.
Before installation, it is crucial to clean the area thoroughly. Remove all debris, nests, and droppings using a scraper or brush. For safety reasons, always wear gloves, a mask, and protective eyewear, as bird droppings can carry harmful bacteria and parasites. Once cleaned, wash the surface with soap and water or a mild disinfectant, and allow it to dry completely. Installing spikes on a dirty or wet surface can reduce adhesion and shorten the lifespan of the product.
Choosing the Right Bird Spikes
Bird spikes vary from one another. The type of bird and the particular environment determine the design and bird spikes in sharjah material selection. Spikes made of stainless steel are long-lasting, weatherproof, and appropriate for frequent outdoor use. They are perfect for coastal regions and commercial buildings where corrosion may be a problem. Conversely, plastic spikes are inexpensive, lightweight, and simple to install. They come in a variety of colours to complement the aesthetics of buildings and are frequently utilised in residential settings.
The spike strip’s breadth is another factor to take into account. Smaller spikes are needed for narrow ledges, whereas multi-row or extra-wide spikes may be needed for wider regions to ensure full coverage.
Installing Bird Spikes Step-by-Step
The installation process is straightforward, but precision matters for lasting results. First, lay out the spikes along the target surface to check alignment. The base of each strip should sit flush against the surface without gaps. Gaps can allow small birds to land or nest between sections, reducing the effectiveness of the deterrent.
For attachment, you can use adhesive, screws, or clips, depending on the surface type. On concrete or metal surfaces, a strong outdoor adhesive or silicone sealant is often sufficient. Apply a continuous bead of adhesive along the base of the spike strip, then press it firmly onto the surface. For wooden or soft materials, screws or nails may provide a more secure hold. When using screws, ensure they do not damage waterproofing or structural materials beneath.
Always install spikes so that the rods extend slightly over the edge of the surface. This prevents birds from finding small ledges or corners to grip. Continue installing the strips end to end, ensuring there are no open spaces larger than a few centimeters between them.
Safety Considerations During Installation
Safety should be a top priority, especially when working at heights. Use a sturdy ladder, scaffolding, or lift if needed, and secure all equipment properly. Never attempt installation on wet or windy days. Wearing protective gloves and safety gear minimizes the risk of cuts from the spikes and exposure to contaminants.
If the installation area is hard to reach or spans multiple stories, it may be best to hire a professional bird control technician. Experts have specialized tools and harnesses to ensure safe, effective installation in complex environments.
Maintaining and Inspecting Bird Spikes
Bird spikes require little upkeep after installation. On the other hand, periodic inspections assist guarantee sustained performance. Every few months, check the spikes to make sure they are securely fastened and clear of any debris, including twigs or leaves. Reapply where needed because weather and wind can cause glue to become loosened over time. In addition to making the spikes seem better, keeping them clean deters birds from trying to build nests near them.
Conclusion
Installing bird spikes is a practical, humane, and cost-effective way to deter unwanted birds from your property. With proper preparation, the right materials, and careful installation, you can protect buildings, signage, and ledges from damage while maintaining a clean and peaceful environment. Whether you choose to install them yourself or hire a professional, bird spikes offer long-term protection with little maintenance—helping you keep your property free from bird-related problems for years to come.